
Today over at the Pink Elephant Challenge we are showcasing some of Lori's digital stamps as well as focussing on how we colour them using our Copics. Our lovely friend Claudia at DieCutsRUs is having a huge Copics Sale so if you are in need of a few more pens to add to your collection then that is the place to go!
So, this is my card and how I coloured it. I am in no way an expert, just a beginner really so who knows if I'm doing the colouring correctly but I like how they look so for now I'm sticking with my method :)


For this card I cropped my digi stamp so that I only had the part I wanted to colour, enlarged it to fillmy cardblank and printed it. When I colour with copics I have my colour chart right next to my image so I can select just the right colours and compare what they will look like together
I start with the darker colours and blend outwards with lighter colours

I try to think about where the light and dark shadows would fall - but I'm not so good at that part :lol:

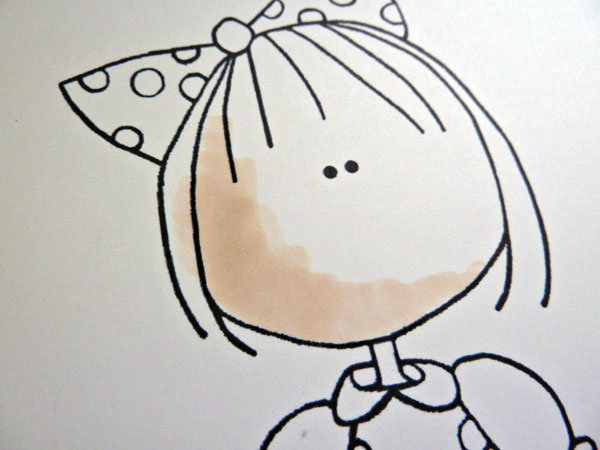
For the skin I used colours E00, E50, E53, YR0000 and I used the same colours for her neck, hands and arms

Moving onto the dress I used the darkest yellow at the top, sides and just a little around the spots

As I moved in towards the centre I used the lighter colours of yellow blending the edges so that they merged together


I used the same process to color the sleeves of the dress, starting with the dark and moving towards the light

For her bow in her hair I used the same darkest yellow as the dress in the centre of the bow

Then moved out towards the edges with the lighter colours, blending each colour over the top of the previous one

Here is the hair bow coloured in and you can see the darker and lighter areas
For the dress and bow I used Y17, Y15, Y08, Y00

I find colouring the hair really difficult so I will be watching the other girls to see how they do it. But me, I start with the darkest colour at the top of the hair

I blend over this with my middle brown colour

And then move down the length of the hair with the lighter of my brown colours
See how you can see the join where the lightest colour meets the middle brown, there is a line across her head!

So I blended all the colours using my lightest brown to take away the join lines
For the hair colours I used E29, E37, E49

Moving onto the spots on her dress I colour with the darkest pink first

Then blend in the lighter and I use the same process for the frills on her sleeves and around her neck

I used RV21, RV23, RV34 for the pink spots and the frill
And this, is the card that I made. I love the effect enlarging the digi stamp has and then just using a part of the stamp and I teamed it with Papertrey and Doodlebug cardstock and my circle and scalloped circle Nestabilities and some new ribbon that is coming soon to The Ribbon Girl.
See her cheeks - I cheated with my colouring and added her lovely rosy cheeks with Stampin Up chalk! and her freckles are done with a white pen
6 comments:
Holy Moly Andrea....WOW...You have done one outstanding job on this tutorial!!! Bravo!!!
Your card is GORGEOUS!!
Thanks so so much!!!
Big hugs - LORi
That's beautifully coloured.... and if she had a mouth she'd say so too!
A lovely card!
wow amazing colouring and fabulous card I love it!
Leanne x
ANDREA - THIS IS DARLING! You did an outstanding job with the coloring!!! You're so awesome!
Fantastic card honey and thanks for telling us how you did it :) xoxox
Andrea, you have put together a fabulous tutorial!! I love your sweet card!!
Post a Comment